Photobucket Photobucket Photobucket Photobucket

Wednesday, November 24, 2010

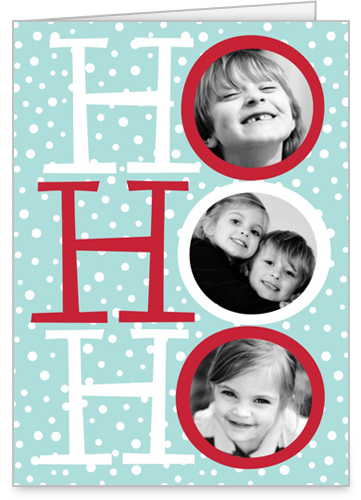
With Love Blue Christmas Card
Shop Shutterfly for elegant custom Christmas photo cards.
View the entire collection of cards.
Well I got my code today and here it is.........


Good intentions

 So are you one of those people like me.....you know, pre-marriage or kids, who used to be great about at least sending out birthday cards, thank you cards, and cards for no reason, but then a hubby and kids happened and all you've had is great intentions of sending them out? Yep, that's me (don't wiggle your finger at me now and lecture me on how terrible I am......I've already done that myself.) great intentions......hey some years I've even bought them on clearance for the next year but alas I can never find that great place I put them to not forget next year......until of course like Valentines day! Lovely :) Well not so this year! I'm even aspiring to do PHOTO cards. Of course it helps that I've been given this GREAT opportunity to do so by shutterfly.....they are offering 50 free cards to bloggers and HERE'S HOWBloggers get 50 free holiday cards from Shutterfly… sign up:   http://bit.ly/sfly2010


Check out some Christmas designs here

Check out some Holiday designs here

Or if you're a procrastinator you could try a New Years card here 


Well now just wish me luck in narrowing down which one I actually want and what pictures to use!   Stay tuned! Shall pick 

or

and maybe fill it with 


Enter to win!

Would you like to win a new quilt??? I sure would! Chelsea over at Pink Fig Design is doing a giveaway, two actually. She's giving away to one lucky random person, and one lucky random shop owner!! Head on over and check it out ;)


Tuesday, November 23, 2010

Handmade Tuesday...


Go check it out, i'm being featured there today :)


Monday, November 22, 2010

Awesome giveaway!!!

There's a silhouette giveaway here!! Of course i'd really rather you did NOT enter so I have more chances to win ;) LOL


3rd stop....

Our last stop for the buildings was the barn. Since the motto for the day was "Waste not, want not" we also talked about how they did this on the family farm. This first machine you would put the dried out corn husks in to get all the kernels off.


This machine was a sorter. It sorted the corn into small, med, and large bins. The small kernels were used to feed the animals as there teeth are usually smaller anyway. The med kernels were for making food for the family, and the large ones were for planting crops for the next season.

This was a mill for making corn meal. The one on the left is a crank and the one on the right is for milling by hand.
Though they don't use this it is a working cider machine. You put the apples in the top container and crank the wheel and a bucket placed in the wooden slats of the bottom catches the juices :)
This was a roping station where they had little fake cattle heads on the fence for the kids to practice throwing lassos at. Needless to say the boys LOVED this area!
And a slice of true work on a farm. They explained how one of the kids jobs, first thing in the morning,  was to clean the animal stalls out and put down fresh hay.


Last but NOT least, we made rope!

 Top: You attatch twine to the hooks. Bottom: you turn the crank to twist and tighten the twine creating a rope.

A bucket is at the other end acting as part of a pully.

Finished product :)


So as you can see we had a GREAT time!!!


A refashion


So I've been all over these hair flowers and a friend from church who's noticed asked if I wanted a necklace of hers that had broken to use for flowers or whatever. She showed it to me ...
and I explained to her that I could easily fix the clip or replace the ribbon if she'd rather have the necklace back. She said really she'd just like a hair flower made out of the flower on the necklace but with a little more added to it :) So I got to work looking around....
and I found an old scarf from Lerner New York from when I was in high school! Way out of style now, but lovely print ;)
 So I cut out some circles and used a lighter to seal the edges and cause the curling. (I think I ended up doing about 7.)
 Next you fold the circle in half...
 Then fold again, not quite in half but about 2/3 so it gives it some pretty body. I didn't show this step but I just began hand sewing each one on until it was as full as I wanted it and I got the finished result :)
Then you just add a piece of stiff felt on the bottom and add your alligator clip or pin, which ever you desire. Easy peasy :) I also went ahead and fixed the necklace and made my own flower to attach to it.....

 and it's a scrappy flower made from the scraps after I cut the circles out.